Occasionally, I’m going to use this blog to show some of the images I made. When I do that, I will try to tell just a little bit about how the image was made, and what it actually is that you are looking at. Today I will discuss an image of M42 that I made over a year ago on the night of November 18-19 2012. I planned to post this story soon after the images were taken, but for some reason that never happened…. Anyway, here is the first part of the rather long story that will probably be completed in a year from now…
I did not want to go outside, because I had to get up early the next morning and was already tired. But astrophotographers are weird people, especially when they live in areas where the number of good clear skies per year is astronomically (ha!) low. Whenever there is an opportunity to observe the night sky, you take it, even if you don’t really want to. Because before you know it another month has passed without any clear skies, and you would just feel bad about not imaging when you could have.
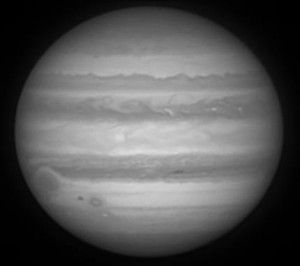
So I went outside. It was cold. It was also slightly foggy, which I did not like, because it meant the air was probably steady. And that in turn meant the images would probably be good, and that I also was not going to get much sleep this night. So I set up my telescope, connected the remote controller of the focuser, turned on the ventilator at the back of the telescope tube to force a temperature equilibrium, checked and corrected the alignment of the optics, and pointed the telescope to Jupiter. The Moons of Jupiter looked very steady: the seeing was good. Tomorrow I was going to be tired.
I pretty much never look through the telescope myself, but let a camera do that for me. This way I can see many more details, and share the image with other people as well. So I powered up my laptop, added the filter wheel, barlow, and camera, turned off the ventilator again because it can cause slight vibrations, and then started imaging Jupiter for the next three hours. The Orion Nebula was still too low at the horizon, so it did not make much sense to start imaging that, but generally I also prefer imaging planets as they are more dynamic. The planets also require more magnification, which means that you can only see them in high detail when the seeing is very good. The seeing was very good, so to me it was obvious I should image a planet, and the biggest one available this night was Jupiter.
But as this post is actually about the Orion Nebula, let’s fast forward to around 2 AM. It was still cold: there was a layer of ice on my telescope, I had to defog the secondary mirror a couple of times with a hair dryer, and my fingers were freezing. The seeing was slowly getting worse as well, so I was pretty much done with Jupiter. And then I noticed Orion, and in particular the fuzzy spot at the center of three stars making up the sword of the Hunter, close to the larger structure of the three stars making up its belt. That is where we can find the Orion Nebula.
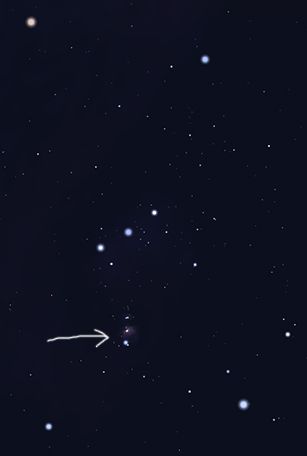 As you probably know, everything in space is huge. Even Jupiter – whose light ‘only’ takes about 40 minutes to get here – is already enormous: Earth easily fits into the hundreds of years lasting storm on Jupiter – the Great Red Spot – and we could place more than half a million Earths on a straight line from here to Jupiter. In the Orion Nebula light takes about 24 years (!) to get from one side to the other, which means that if every human being on earth had its own Earth-sized planet on a straight line inside the Orion Nebula, there would be room for 27 thousand Earths… for each of us. The Nebula itself is relatively closeby: light only takes 1200 years to get from there to here, our closest neighboring galaxy is 200 thousand times further away. Anyway, you get the picture, there is plenty of space in space.
But when we zoom in a little bit on just the center of the Orion Nebula, this is what we see:
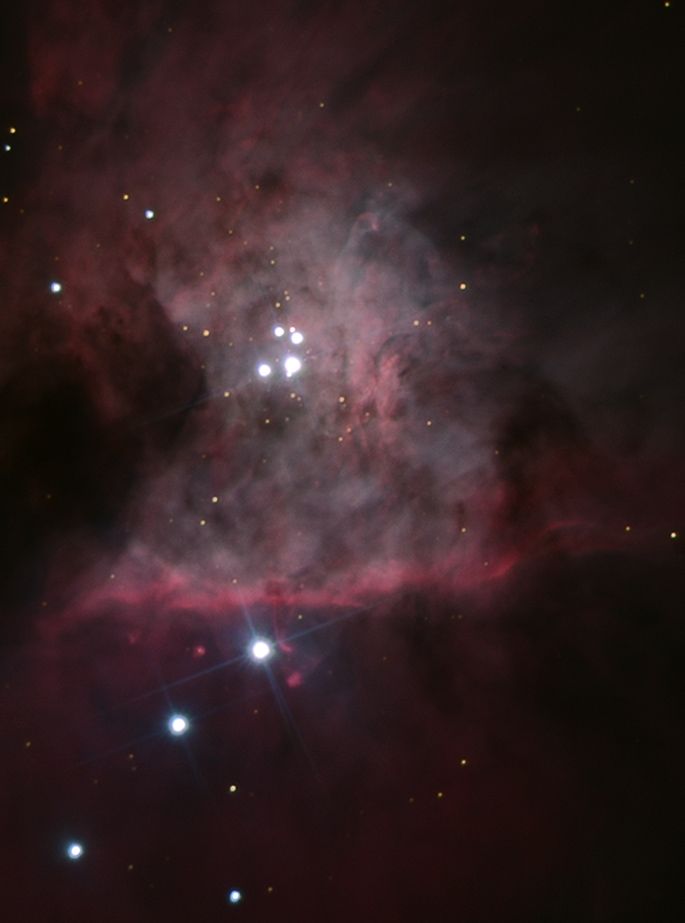
This image was made during the night in question with my 0.25 m Newton telescope. Of course, it does not come close to what Hubble can see when staring at M42. But for Hubble it is relatively easy: it has a huge 2.4 meter mirror that can collect light about 92 times faster (!) than my telescope can, and can resolve details that are at the very least 10 times smaller. But Hubble is also floating in space which means that it does not have to worry about the Earths atmosphere which has a tendency to distort images, especially when trying to view really tiny details, and even more so when using long exposure times. Because the longer you expose an image, the more our atmosphere has the chance to distort it.
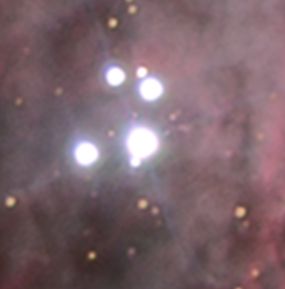
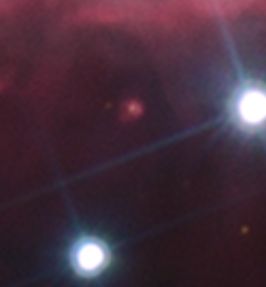
Unfortunately, this is where the story ends for now. Keep checking this blog for a follow up! For now I’ll end with two close-ups of the image posted above. You can actually see protoplanetary disks here: disks of dense gas surrounding stars that have basically just been formed!
